E-Mailing Report Feature

Hi JDisc friends,
Generating reports from discovered devices in your network is such a neat and organized way to have always a complete overview of your IT network. But we gave it some thought and asked ourselves: Why not deliver the reports right at your fingertips? Answering that question brought us to you today to announce our new E-Mailing Report feature. This feature delivers your reports right at your email inbox whenever you want and as frequent as you wish.
We have taken a great step towards report automation with email feature. This feature enables you to send any types of reports within Inventory automatically via email to any number of recipients based on a schedule.
To break down the feature components, I will go ahead and talk you through the following steps:
- Configuring a sender
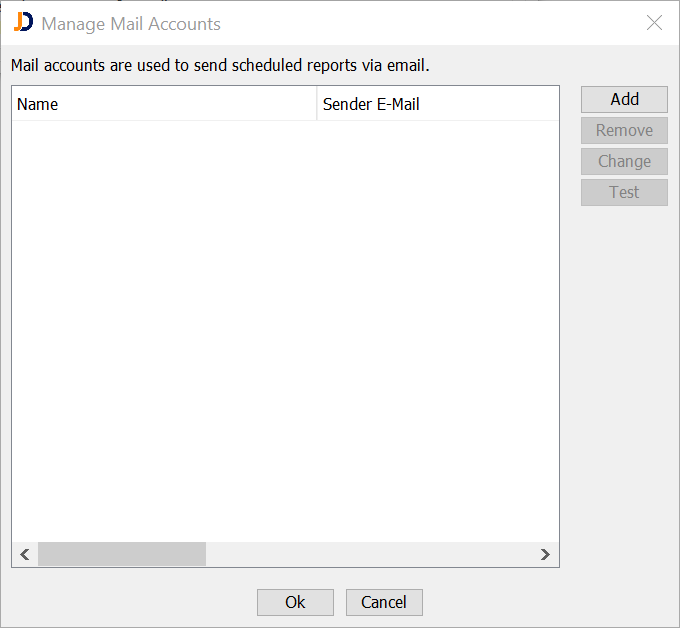
As in regular email services, there must be an email address for the server. In order to do that, the sender’s email address properties must be configured. To do so, under “Administration” tab, choose “Manage Mail Accounts”.
Clicking on “Add” buttons takes you to the dialog where you can setup the reports sender email.
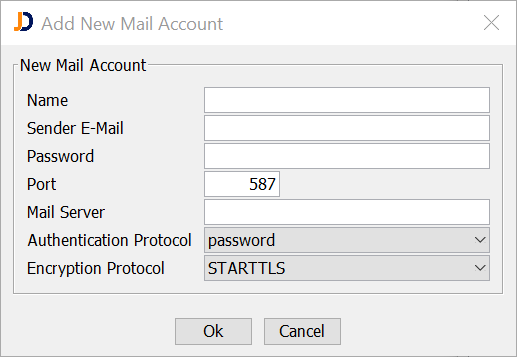
Once a sender is added to the list, it can be tested using the “Test” button to make sure that its credentials are correct and a successful connection can be established to send mails with it.
If the test was successful, by clicking “Ok” on “Manage Mail Accounts” dialog, the email is ready to send the desire reports.
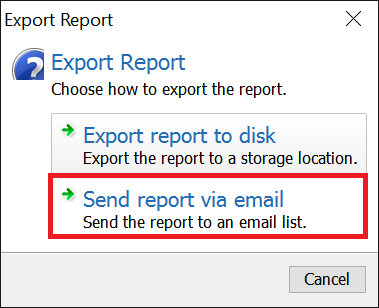
Now that you have a working sender email, you can send any scheduled report. For instance, under “Devices”à “Virtualization”à “Virtual Instances”, choose the clock icon:
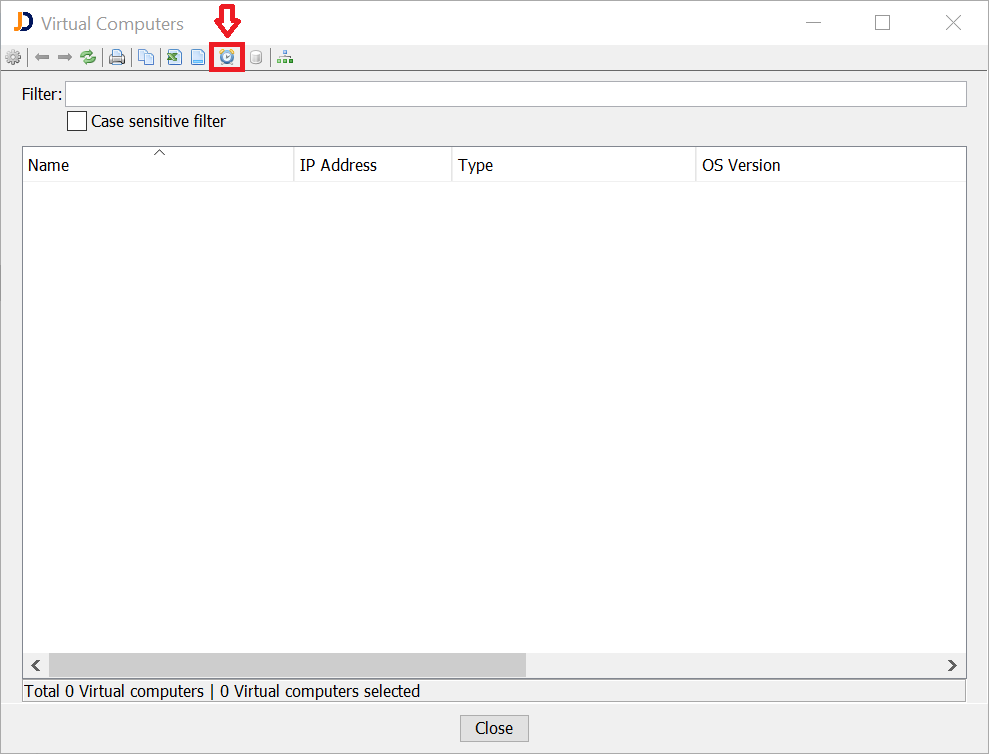
From the appeared dialog, select “Send report via email” option.
A wizard will walk you through 4 steps:
- Scheduling
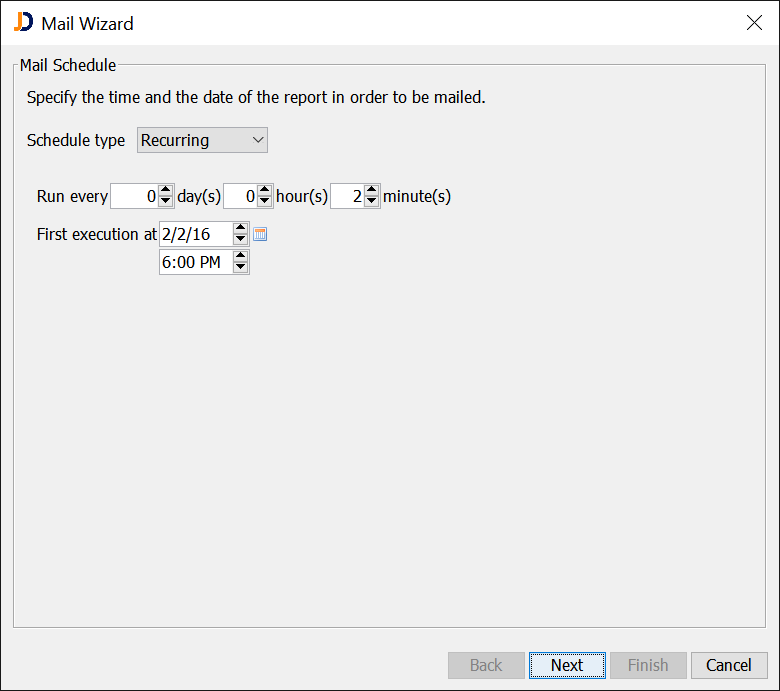
Here you decide how often you would like to send your report to the corresponding recipients. In the following screenshot you see that it is set to be sent every 2 minutes starting from 6 PM, second of February 2016 which is relatively a high frequency of sending.
- Mail Content
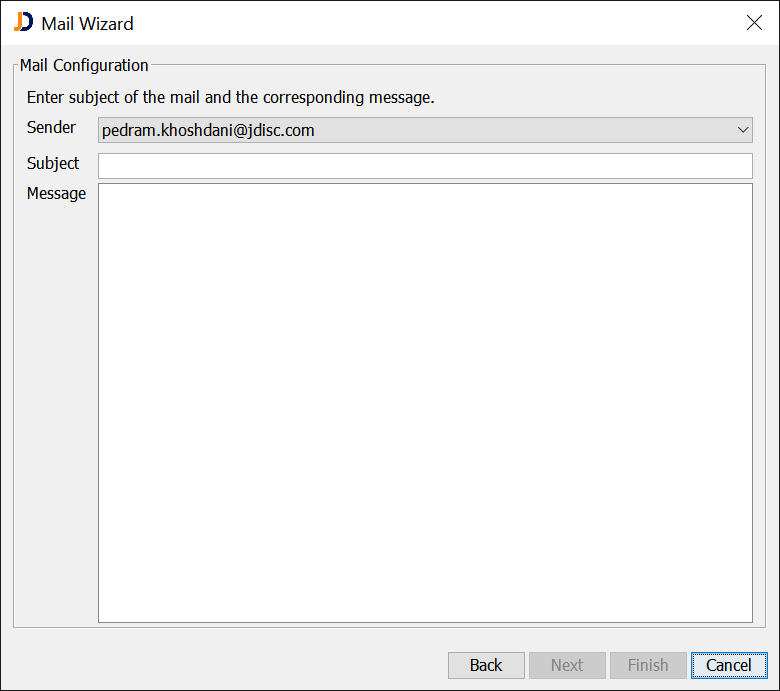
The second page allows you to select the sender’s email address among the list of senders that you had setup in the first step (“Configuring a sender”) and there fields to choose the subject and the message content of your email to the recipients.
- Report file properties as the email’s attachement
In the third section, the report file must be given a name and you can choose Excel or CSV as the file format. If CSV is chosen as the file format, you can freely choose your desired column separator special character. Other options such as “Multiple lines per item” and “Human readable values” help you better organize your data formation to ease readibility. If the report is empty and contains no entry, you are still able to send it by checking the “Send empty report” checkbox.
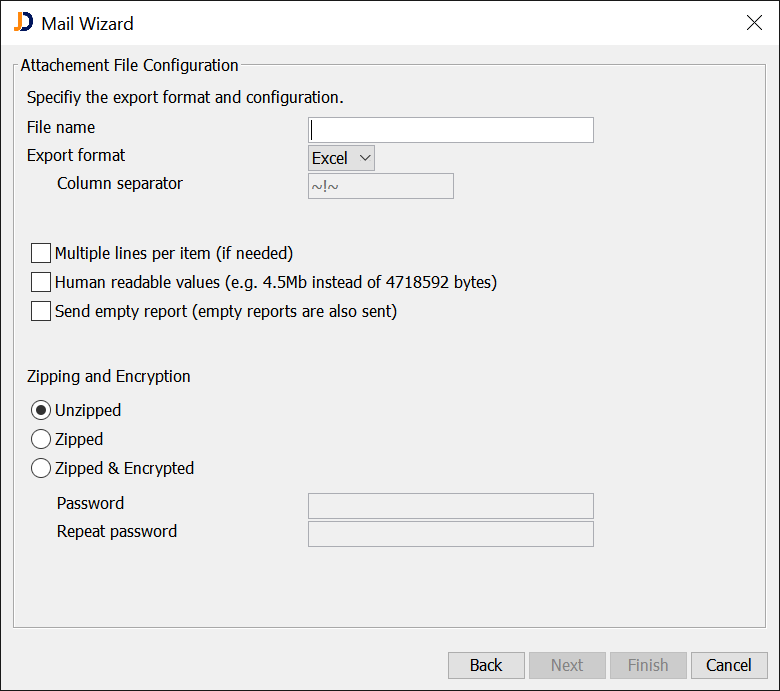
Additionaly, file compression is also possible. You can leave your file unzipped or take advantage of data compression and zip the file. Moreover, to add a extra security layer to your file, you can enrypt the zip file by providing it with a password.
- Selecting recipients of the desired report
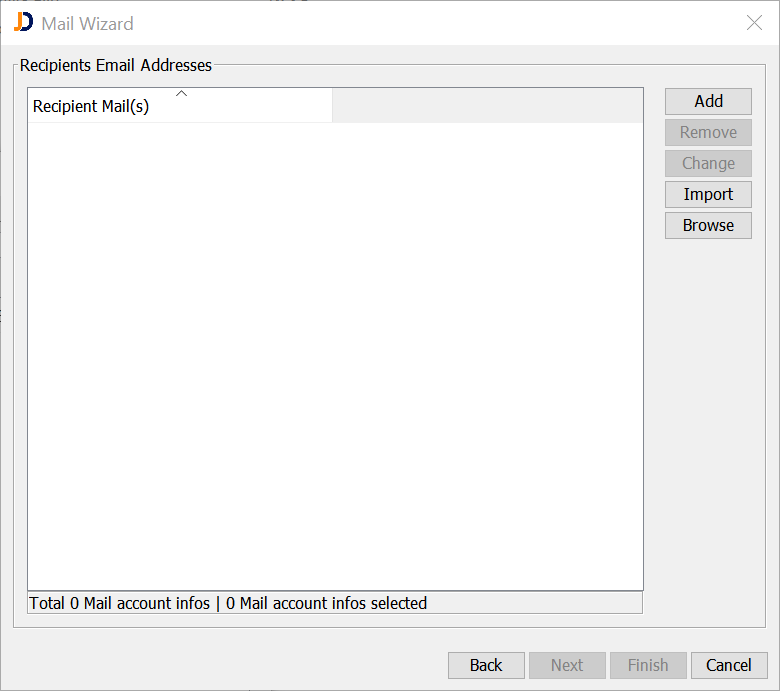
On the last page, you can add your desired recipients whom would receive the email and of course the report file attached to it. There are various ways to do so. You can add your recipients by clicking on the “Add” button which this is handy when doing for the first time or sending to a few number of recipients. But you can also add them using the “Import” button which essentially allows you to import a text file with recipients email addresses on each line.
If this is no your first time adding your recipients, then you can take advantage of Browse feature by simply selecting “Browse” button where enables you to select among the list of recipients whom addresses were utilized before for other scheduled mail report.
By choosing “Finish”, the scheduled report is done and your recipients should receive automated emails containing the corresponding report based on the scheduled set.
Remove/Change Your Scheduled Report
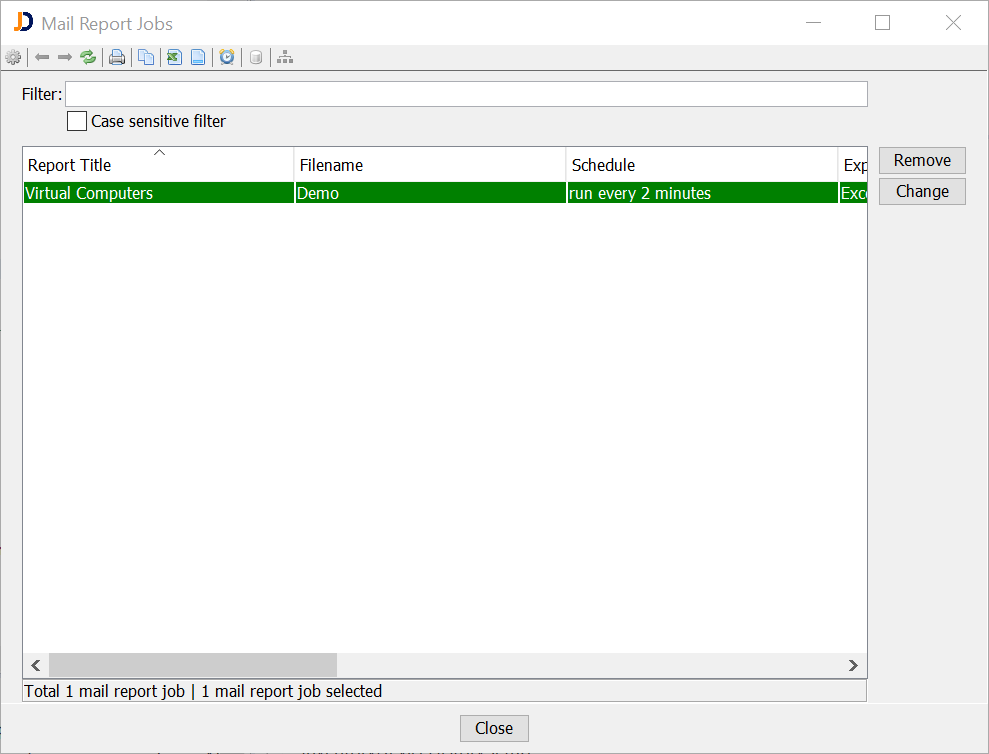
If you intent to modify or remove your existing scheduled reports, you can simply go “Manage Scheduled Mail Report Jobs” which can be found under “Administration” tab.
We were so excited during the whole development of this great feature to let you know about it and now that the time has come, we hope you would be too while using it. Can’t already wait to receive feedback from you about this feature.

